|
| The finished sun face. |
This page is a short tutorial which outlines a very simple way to make a clay sun face that will later serve as the model for creating a
plaster mold, and ultimately, a homemade concrete sun face for your backyard. It is intended for people like me, who have
no artistic talent, but still want to embellish their corner of the Universe with something they made themselves.
Start with a hard, flat surface (I use a formica covered board), and draw some concentric circles that will help in maintaining the shape of the sun face. The ones shown here are 6", 8" and 10" in diameter. Be sure to get some plastic wrap and tape as well.
The plastic wrap will keep the clay from sticking tightly to the formica. When the time comes to make a plaster model, we want to be able to detach it from the working surface.
Before getting down to pushing around clay, let's cover a few more preliminaries.
Having a damp cloth and plastic to drape over a "work-in-progress" allows one to set things aside and then come back later. Clay that has become too dry to easily work with can be a real pain.
Having a variety of shaping tools will come in handy. In addition to a couple of knives, some things which are frequently employed in my corner of the Universe include some wooden dowels with rounded and/or tapered ends, other dowels with tips made of silicone caulking and shaped in different ways, and also small pieces of PVC pipe with pieces of shaped spring wire epoxied into the ends. You can purchase tools similar to these (and of considerably better quality) at a local ceramic supply, or you can jury-rig your own.
Make a pad of clay about 6" in diameter and ½" thick. Among the tools I use when modeling in clay are a variety of knives. Old table knives and exacto knives (with dull, somewhat rounded blades) work well for my approach to things.
The first thing we're going to make are the eyes. Start by making a small, round ball of clay.
Now, take a knife and cut the ball in half.
To create the pupil, begin by removing some clay from the center of each hemisphere. If you don't have a tool such as the one depicted, get a drill bit (about 1/2" should work) and rotate it slowly with your fingers to remove some clay without distorting the basic hemispheric shape.
After smoothing out any rough edges and using a cylinder (think "dowell rod") to give the pupils a nice round appearance, place them on the clay pad.
The eyelids can be created by using some relatively thin strips of clay. Take two strips and drap them across each eye along the lower edge of the pupil. Push them into place so they more or less conform to the shape of the eyeball.
Put some strips across the top as well.
After performing a little trimming, now add a pad of clay to where we are going to very shortly put a nose. While we aren't trying to create a face that is true to human proportions, we still want to give it a little bit of "depth". Faces are sort of "rounded". Noses stick out. So let's pay a little homage to that.
Take some clay and fashion a nose. If you take your time and don't get in a hurry, with a little bit of patience you'll be able to fashion one that, while possibly never winning a prize, will never-the-less look and function perfectly fine for what we're doing.
The nose from another angle.
The nose from yet another angle.
Now put the nose in place.
A side angle shot with the nose in place.
Take a small amount of clay
and fashion it into what is going to become the upper lip. Make it thicker in the middle and tapered toward the ends. Give the middle part a couple of ridges along one side.
Another view of the upper lip.
Now make a lower lip.
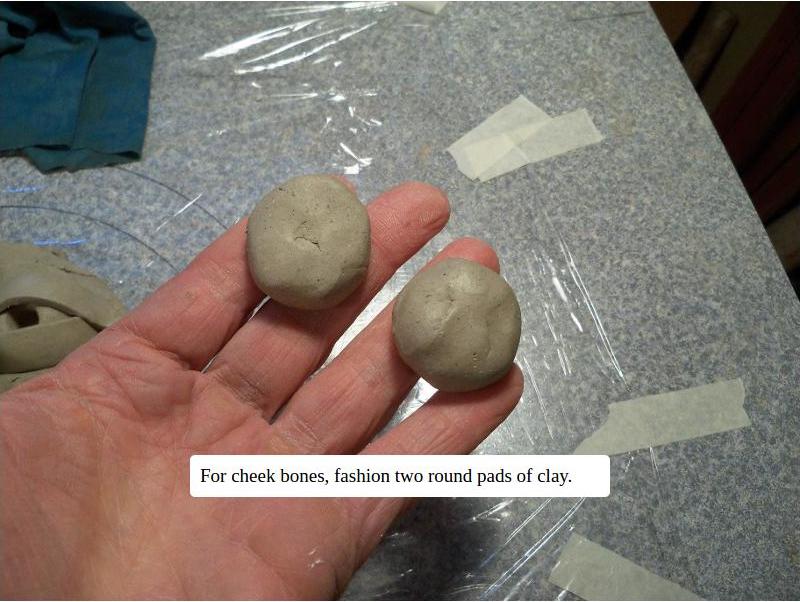
For cheek bones, fashion two round pads of clay.
Shape some clay into a chin.
Now, put all the pieces in place. With any luck, a reasonably decent face will be well on its way to completion. If in making the various pieces and arranging them, anything looks somewhat "off", don't hesitate to try re-shaping various elements, maybe adding clay, removing clay, moving things around a little. We're not after perfection, but at the same time you need to be satisfied with the result.
The task at this point is just filling in the gaps. Here, one can see some clay added to "flesh out" the cheek area just under an eye and along the side of the face. Be careful when working around the eyelids. It's easier to not damage one, as opposed to repairing it if one gets a little too carried away wielding a knife or finger or whatever tool one chooses.
Another shot with a little more clay added. Note the lips have been tapered a little more and blended into the cheek.
Sometimes the best approach is to add clay a little bit at a time. Don't get in a hurry.
Now, fill in the rest of the face.
We're going to work on the eyebrows now. Make a few pieces of curved clay. It doesn't have to be fancy.
Arranging the eyebrows in different configurations can give the face a range of emotions, even with the other features unchanged. Pick the look you prefer. Or experiment until you find something you like better.
After picking the look you prefer, just like before on the other facial features, take some clay and fill the gaps.
The face more or less complete.
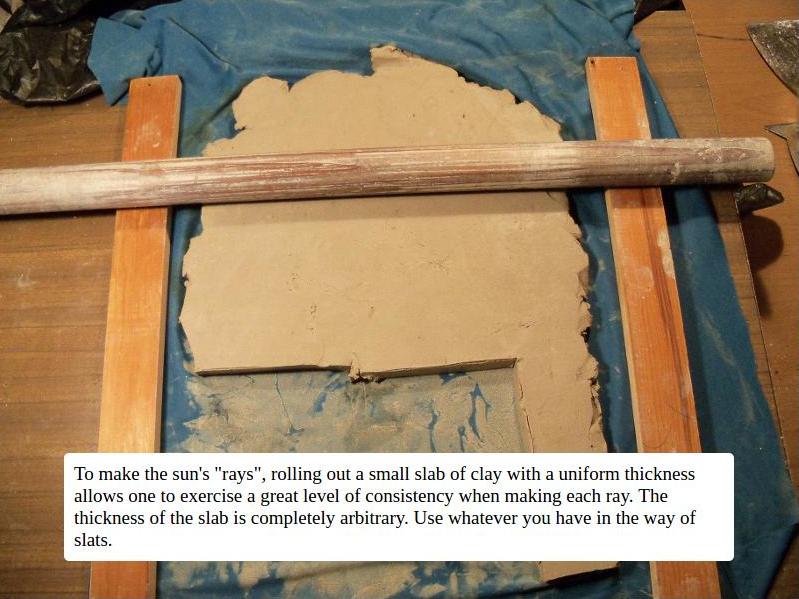
To make the sun's "rays", rolling out a small slab of clay with a uniform thickness allows one to exercise a great level of consistency when making each ray. The thickness of the slab is completely arbitrary. Use whatever you have in the way of slats.
For the project demonstrated here, I used a ½-inch slab, then scored it into rectangles nominally 1½" x 2".
Cut up a bunch of pieces.
This project uses sixteen rays. However many you decide to use, roughly work each one into approximate shape and arrange them around the face to make sure the spacing works out.
If you like the look of the roughly shaped rays, leave them alone. Otherwise, spend a few minutes reshaping and smoothing them until you have a level of uniformity that you are happy with.
Now, work around the face pressing each ray more firmly into position. This will tighten up the gaps between the clay pieces. I just use my thumb because it's easy and quick. One could also fill in the gaps in a more painstaking manner similar to what was done when making the face.
We're almost done.
In order to give the face a little more depth, I scooped out a little bit of clay around the lips.
A close-up of the area where some clay was removed in order to prevent the face from looking too "flat".
O.K....That's it. With any luck you now have a clay sun face you're happy with and are now ready for the next stage....making a mold.
O.K...That's about it for this stage of the project. The next step is to make a
single-use, plaster mold.